Recording your computer screen can be a useful way to for a variety of reasons. Whether you want to create a tutorial, record a presentation, or capture a gameplay session, there are several ways to record your computer screen. In this blog, we will discuss the different tools and software you can use to record your computer screen.
What Do You Need to Record Your Computer Screen?
1. Screen Recording Software:
The first thing you need to record your computer screen is screen recording software. There are several options available, both free and paid. Some popular screen recording software includes Gemoo Recorder, OBS Studio, and computer built-in tools. These software programs allow you to record your screen, audio, and webcam simultaneously.
2. Microphone:
If you plan on recording audio along with your screen recording, you will need a microphone. A good-quality microphone will ensure that your audio is clear and easy to understand. You can use a built-in microphone on your computer or invest in an external microphone for better sound quality.
3. Webcam:
If you plan on recording yourself along with your screen recording, you will need a webcam. Most laptops come with built-in webcams, but if you are using a desktop computer, you may need to purchase an external webcam.
4. Editing Software:
Once you have recorded your screen, you may need to edit your video. Editing software allows you to trim your video, add text, and make other adjustments. Some popular editing software includes Adobe Premiere Pro, Final Cut Pro, and iMovie.
5. Storage Space:
Screen recordings can take up a lot of storage space on your computer. Make sure you have enough storage space available before you start recording. You can also consider using an external hard drive to store your recordings.
How to Record Screen on Windows & Mac Using Gemoo Recorder?
Gemoo Recorder is a screen recording tool that operates on your desktop or in the cloud, allowing you to capture, save, and distribute your recordings. The platform comes equipped with a range of features, including a recording screen, audio, webcam, and more. You can start to record your screen via Gemoo Recorder even if you’re a video-making beginner.
Here, let’s see how to screen record on Windows/Mac via Gemoo Recorder:
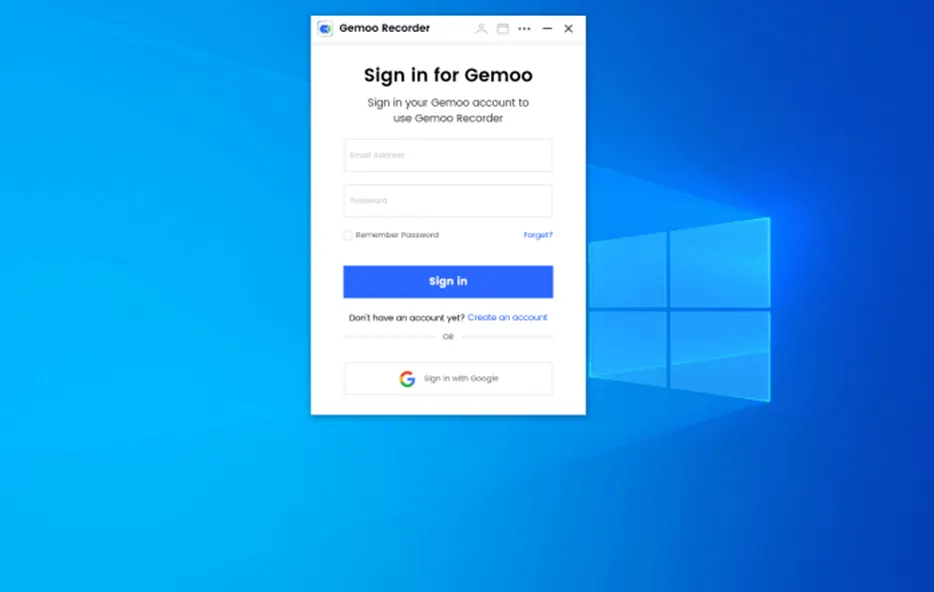
Step 1. Install and launch Gemoo Recorder. Then you will be prompted to sign in to your Gemoo account.
Step 2. On the welcome page, choose the Screen Only mode and click on the Start Recording button. If you want to record your screen and webcam at the same time, you should choose the Screen + Camera mode.
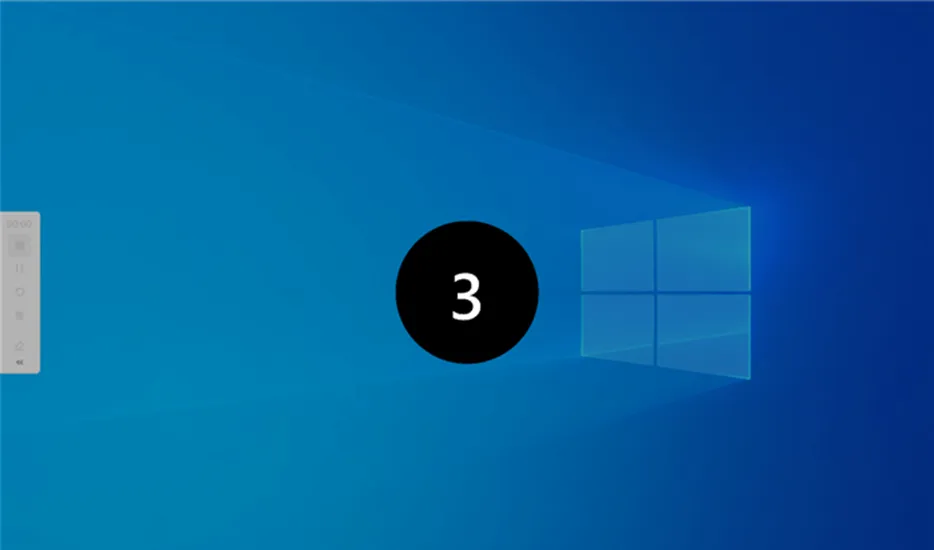
Step 3. After clicking on the Start Recording button, a 3-second countdown will show up on the screen.
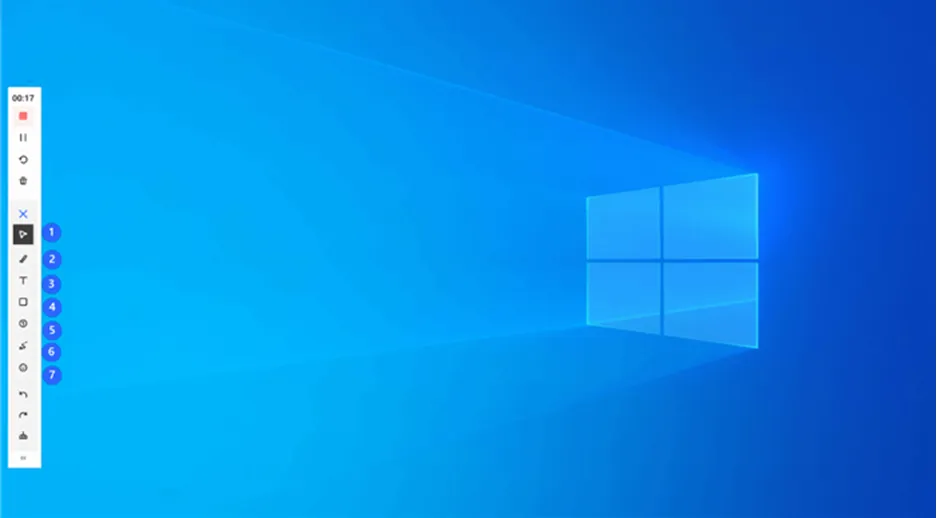
Step 4. Then the recording will start. You can add annotations during the recording. After completing the recording, simply press the red Stop button.
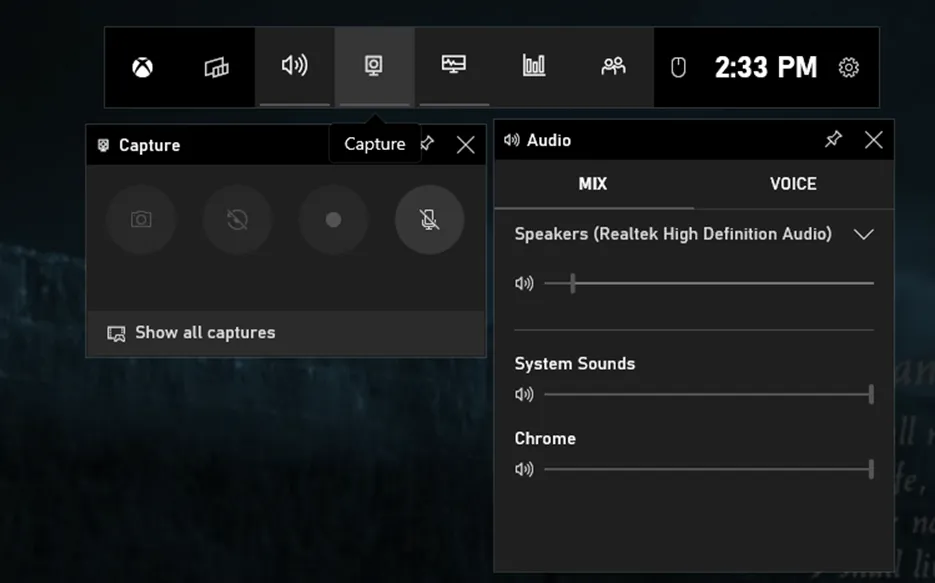
Screen Record on Windows via Game Bar:
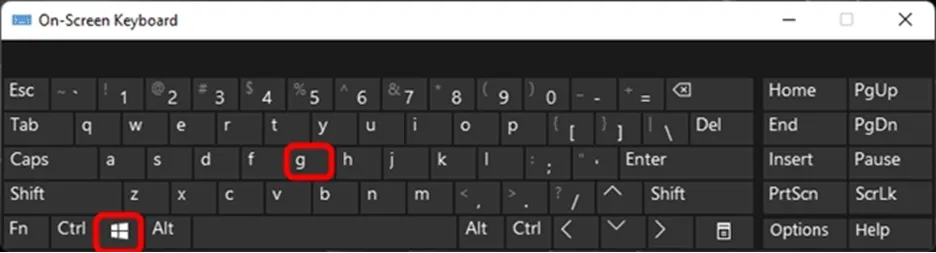
The Game Bar is a built-in feature in Windows 10 that allows you to record your screen. To open the Game Bar, press the Windows key + G on your keyboard. If this is your first time using the Game Bar, you may need to enable it by going to Settings > Gaming > Game Bar and turning on the “Record game clips, screenshots, and broadcast using Game Bar” option.
Step 1. Once you have the Game Bar open, you can start recording by clicking on the red record button or pressing the Windows key + Alt + G on your keyboard. You can also use the microphone icon to enable or disable audio recording.
Step 2. To stop recording, click on the stop button or press the Windows key + Alt + R. Your recorded video will be saved in the Captures folder, which can be found in your Videos folder.
Step 3. After recording your screen, you can edit your video using the built-in Photos app or any other video editing software. You can also share your video on social media or upload it to a video hosting platform like YouTube.
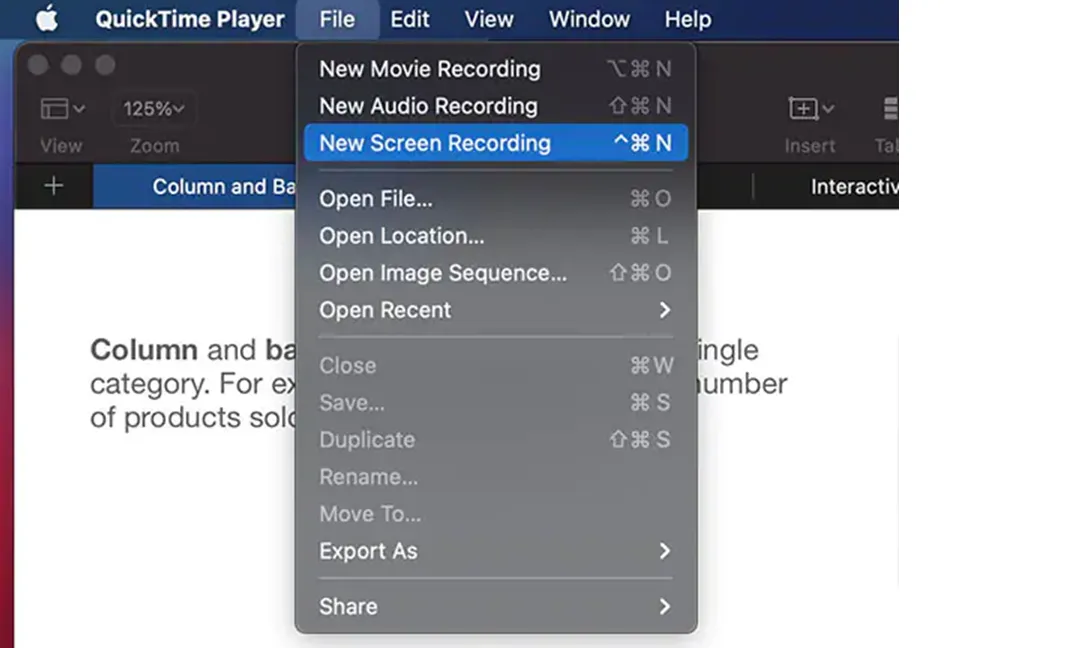
Screen Record on Mac via QuickTime Player:
QuickTime Player is a multimedia player that comes pre-installed on all Mac computers. It’s not just a player, though; it also has a screen recording feature that you can use to capture your screen activity. Here’s how to use QuickTime Player for screen recording:
1. Open QuickTime Player from your Applications folder.
2. Click on File > New Screen Recording.
3. Click on the red record button to start recording.
4. Select the area of your screen that you want to record.
5. Click on the stop button to end the recording.
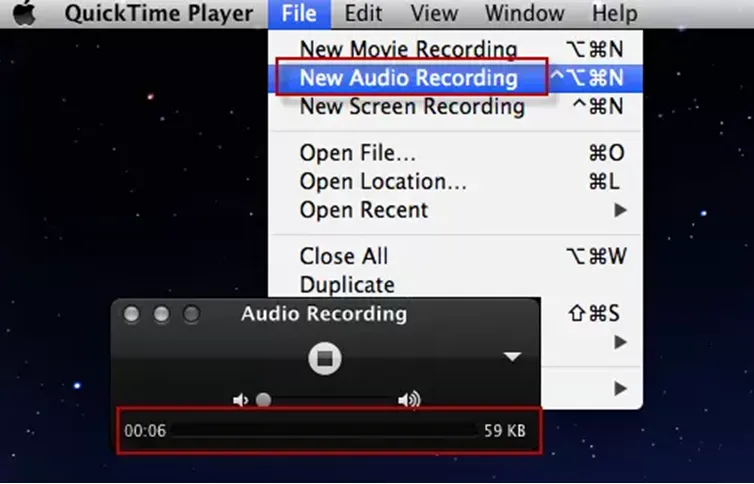
QuickTime Player also allows you to record audio from your microphone or system audio, which is useful if you want to add narration or capture sound effects. To add narration to your screen recording in QuickTime Player, you can:
1. Open QuickTime Player on your Mac. You can do this by clicking on the QuickTime Player icon in your Applications folder or by searching for it in Spotlight.
2. Once you have opened QuickTime Player, click on the “File” menu and select “New Audio Recording”. This will open a new window where you can record your narration.
3. Click on the red record button to start recording your narration. Speak clearly and make sure your microphone is working properly. When you are finished recording, click on the stop button.
4. After you have finished recording your narration, you need to save it. Click on the “File” menu and select “Save”. Choose a name for your narration file and select a location to save it.
5. Now that you have recorded and saved your narration, you can add it to your video. Open the video file you want to add narration to in QuickTime Player.
6. Click on the “Edit” menu and select “Add Clip to End”. This will add your narration file to the end of your video.
Final Thoughts:
Whether you’re a business professional needing to record a presentation, a software developer creating a tutorial video, or simply someone wanting to share a helpful clip on YouTube, both Windows and macOS offer built-in screen-capture tools. Additionally, numerous third-party apps, such as Gemoo Recorder are available in the market. Follow the detailed steps in this post to begin recording your screen now!


")

")
 for Windows PC")

 Screen Recorder for PC You Can Download in 2022")


")
 Call Recorder App for Java Mobile Phone")

")

")
 for Windows PC")

 Screen Recorder for PC You Can Download in 2022")


")

 Call Recorder App for Java Mobile Phone")
 Previous Post
 Next Post